How to install Umami for Website Analytics on Linux
Umami is a privacy-centric web analytics tool that offers an alternative to services like Google Analytics. It tracks website traffic and user behavior without using cookies, anonymizing all data to ensure GDPR, CCPA, and PECR compliance.
It offers a simple dashboard for metrics such as page views and visitor counts, and can be self-hosted or cloud-based, appealing to developers and website owners looking for a lightweight analytics solution.
In this guide, you will learn how to run umami on Linux using Docker/Podman.
Requirements
- Server / VM / Computer / Raspberry Pi
- Installed Linux Operating System (Debian, Rocky, …)
- Container Runtime (Docker / Podman) and docker/podman-compose
Installation
First you have to clone the GitHub repository of Umami:
git clone https://github.com/umami-software/umami.git
Change into the directory of the cloned repository and start up the docker/podman compose deployment:
cd umami
podman compose up -d
Check if the containers are up and running:
podman ps

224dea447469  docker.io/library/postgres:15-alpine            postgres           3 days ago  Up About an hour (healthy)                          umami_db_1
c1d246e8e0e7  ghcr.io/umami-software/umami:postgresql-latest  yarn start-docker  3 days ago  Up About an hour (healthy)  0.0.0.0:3000->3000/tcp  umami_umami_1
If you run the containers as a normal user (rootless), make sure to enable lingering, otherwise the containers will be stopped when the user session is terminated:
loginctl enable-linger $UID
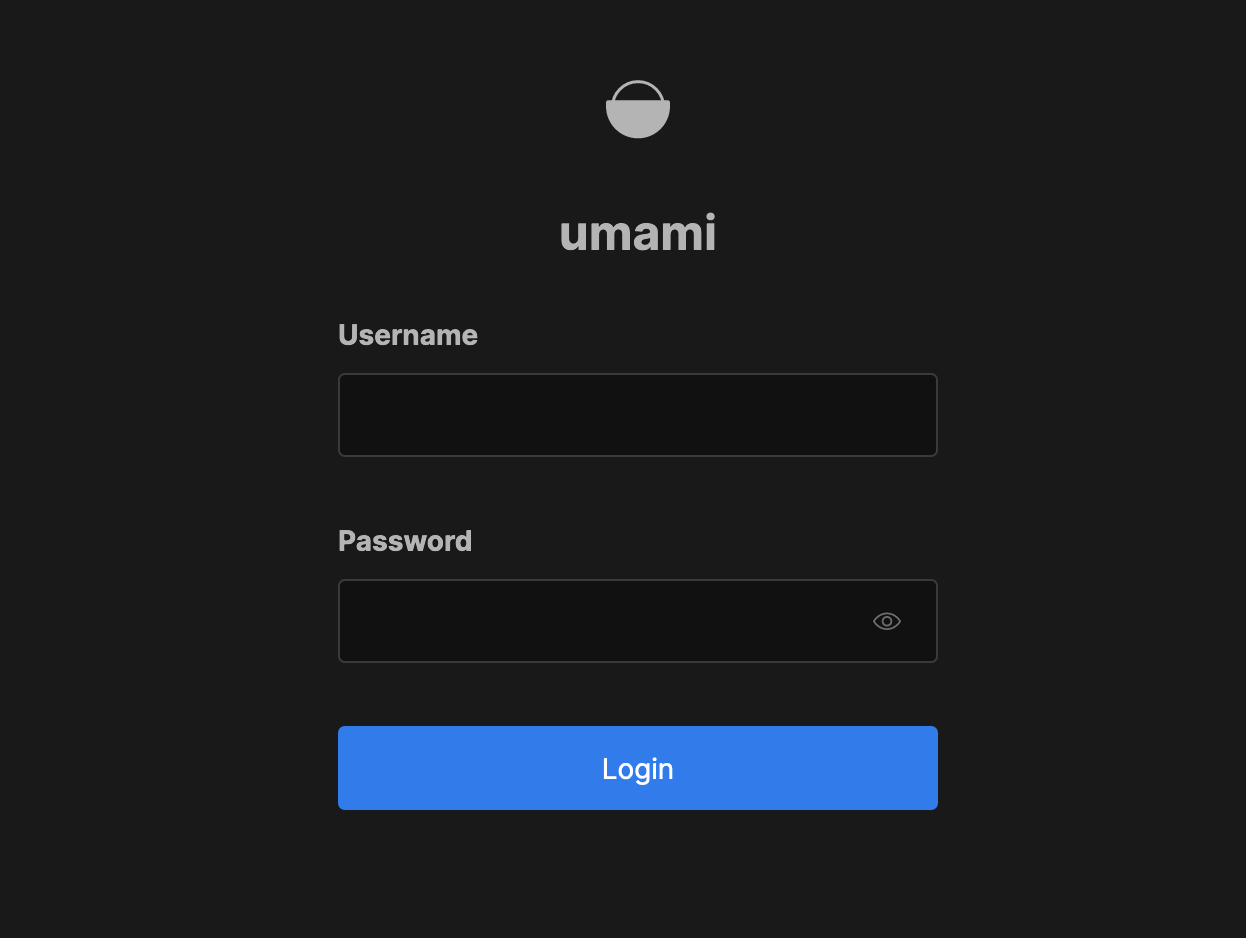
Umami should now be reachable via port 3000. Go to the browser of your choice and enter http://<linux-ip>:3000 and you should be presented with the Umami login screen:

The default user is admin and the password umami. Login and make sure to change the password to something secure.
Reverse Proxy
To make Umami really usable you probably need to setup a reverse proxy in front of it, so you can have a proper URL like analytics.yourdomain.com.
In this case we are using nginx as the reverse proxy.
Install and start nginx like this:
# rhel based systems
sudo dnf install nginx

# debian based systems
sudo apt install nginx

# Start and enable nginx
sudo systemctl enable nginx --now
Now you should see the default nginx site if you visit http://<linux-ip>.
Create a simple nginx configuration file for Umami like this:
sudo vim /etc/nginx/conf.d/umami.conf

server {
    listen       80;
    listen       [::]:80;
    server_name  analytics.yourdomain.com;
    proxy_pass   http://localhost:3000;
}
Test the nginx config and reload it:
sudo nginx -t
sudo nginx -s reload
Go to your DNS and point the analytics.yourdomain.com to the IP of your Linux server / public IP.
Umami should then be reachable over http://analytics.yourdomain.com.
Of course you should implement HTTPS using cerbot / Lets Encrypt.
Short guide for setting up HTTPS:
# rhel based systems
sudo dnf install certbot

# debian based systems
sudo apt install certbot

# Request certificate for umami
certbot --nginx -d analytics.yourdomain.com
Now your Umami instance should be secure and reachable via https://analytics.yourdomain.com.
Getting Analytics Data
Now that your Umami instance is up and running you probably want to get some website analytics in there.
- Go to
https://analytics.yourdomain.com/settings/websitesand click on Add Website - Enter the name and domain of the website you want to get analytics for like this
- Name: Web
- Domain: web.yourdomain.com
- Click on the Edit button next to the created website
- Go to the Tracking code tab and copy the code that should look like this:
<script defer src="https://analytics.yourdomain.com/script.js" data-website-id="d7b590bc-3e6b-493b-9a31-d8d79c10b3f0"></script>
- Add the code to the default
<head>section of your website
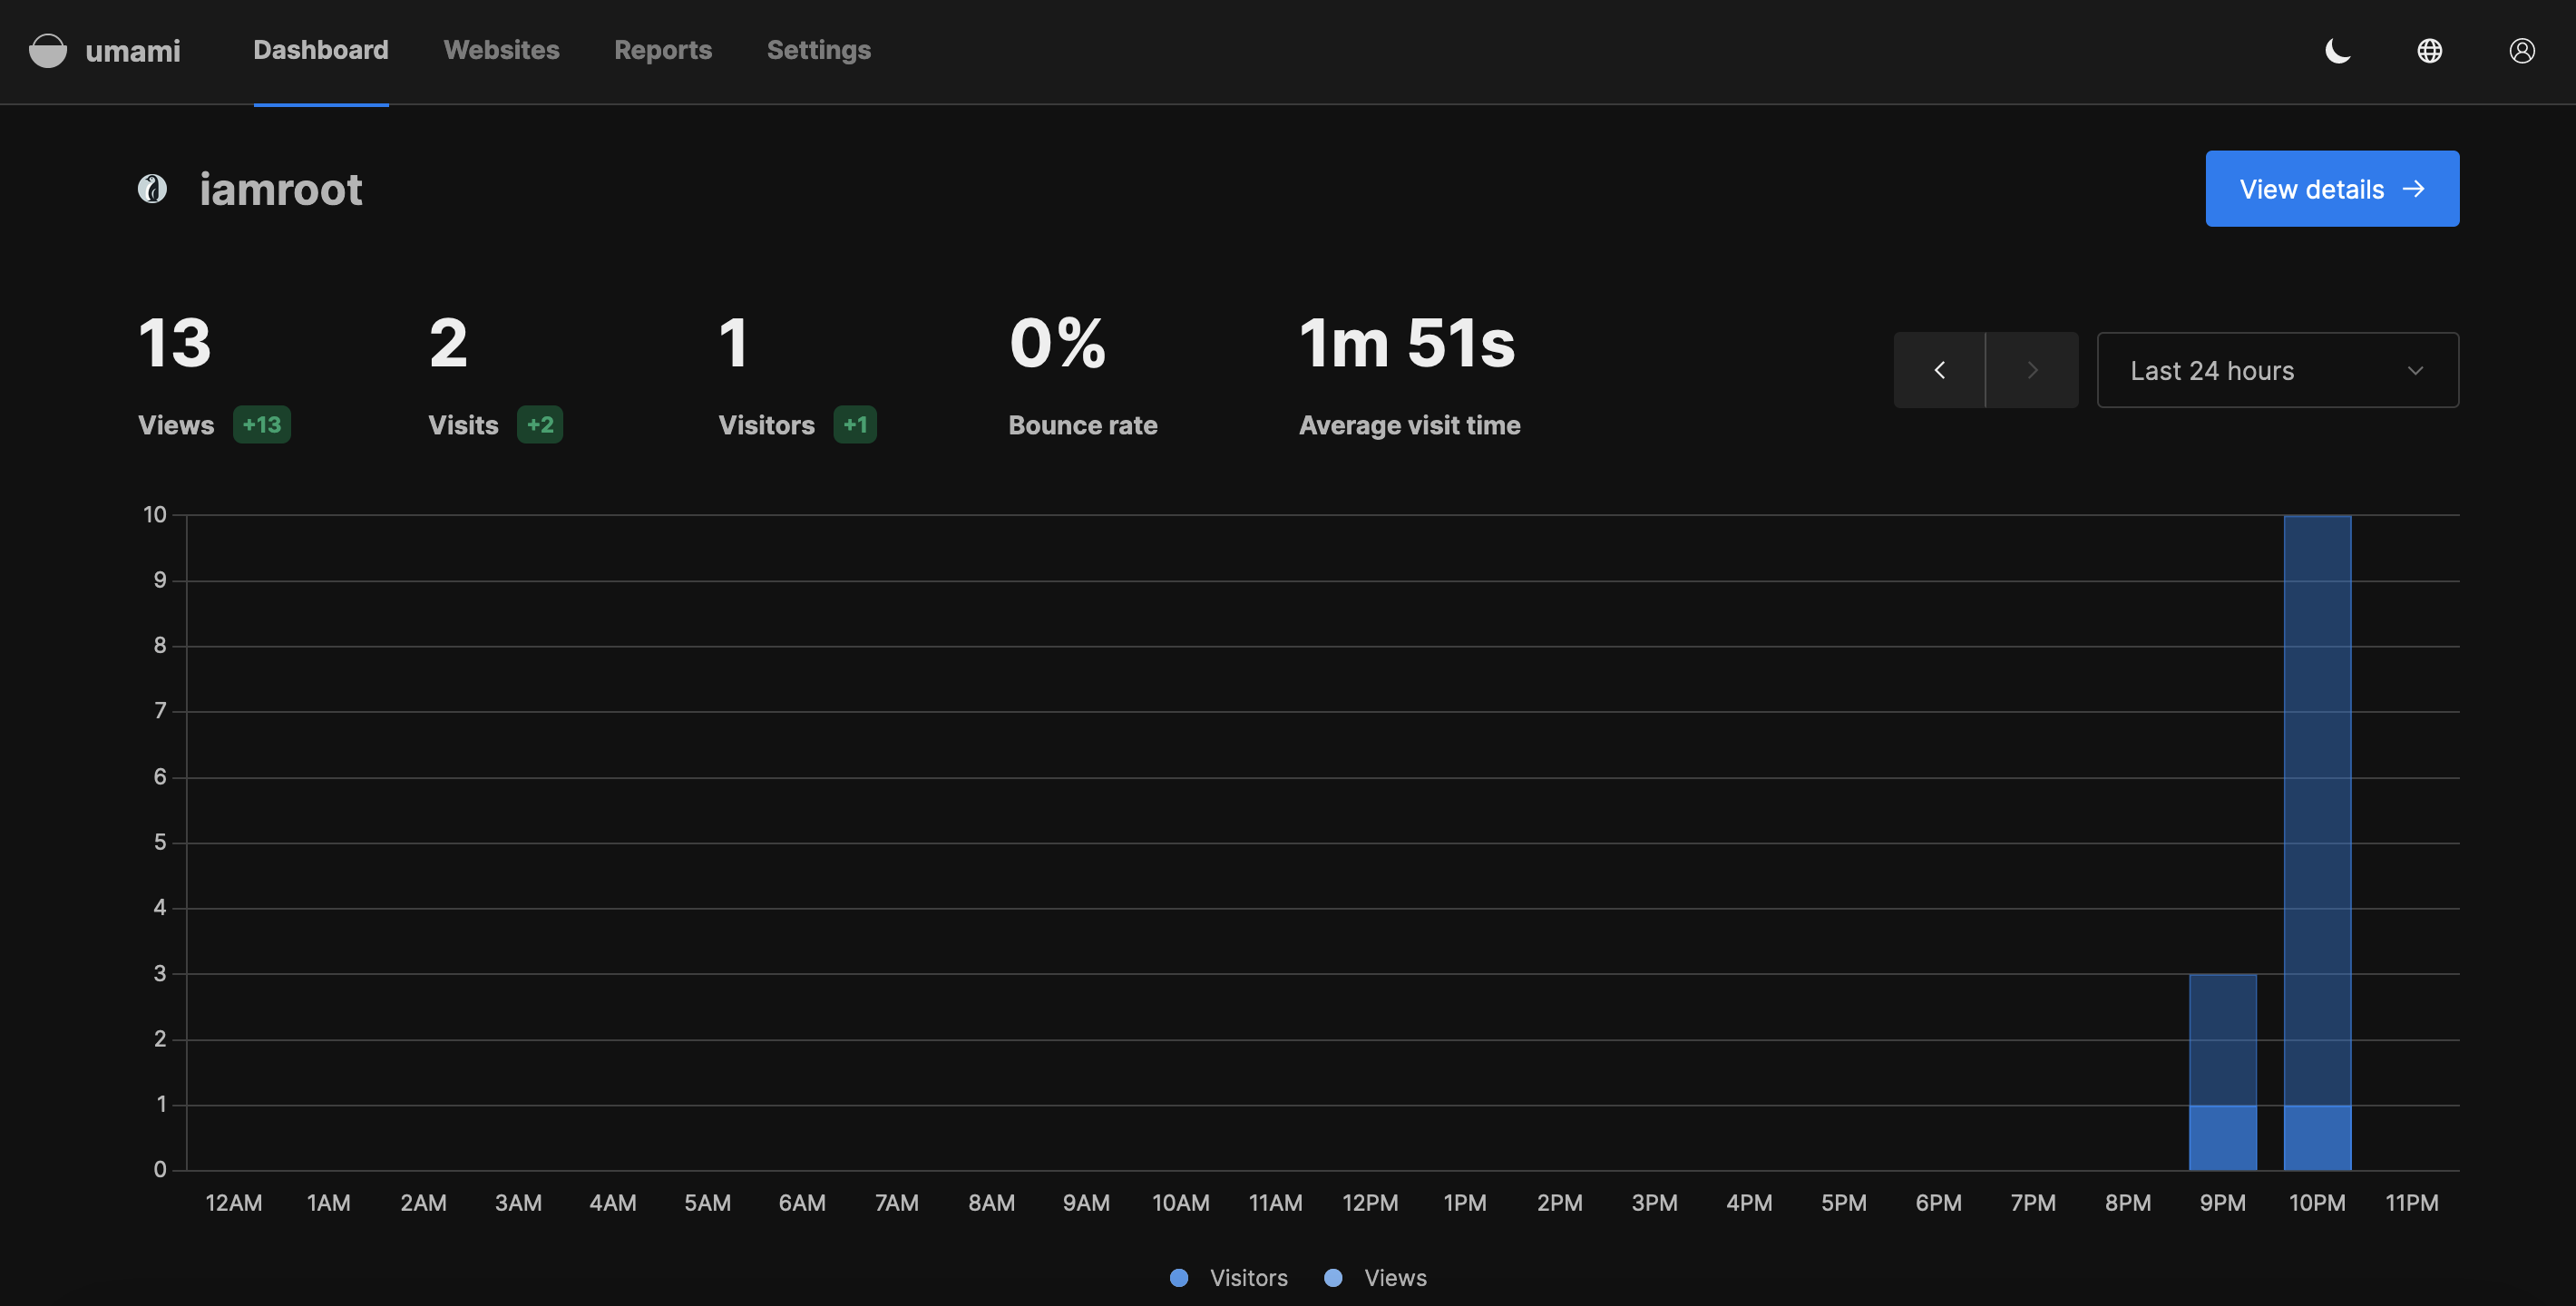
After someone visits your website now, metrics should show up on your Umami instance like this:

This concludes the guide. For further details about Umami, visit the official documentation here.